


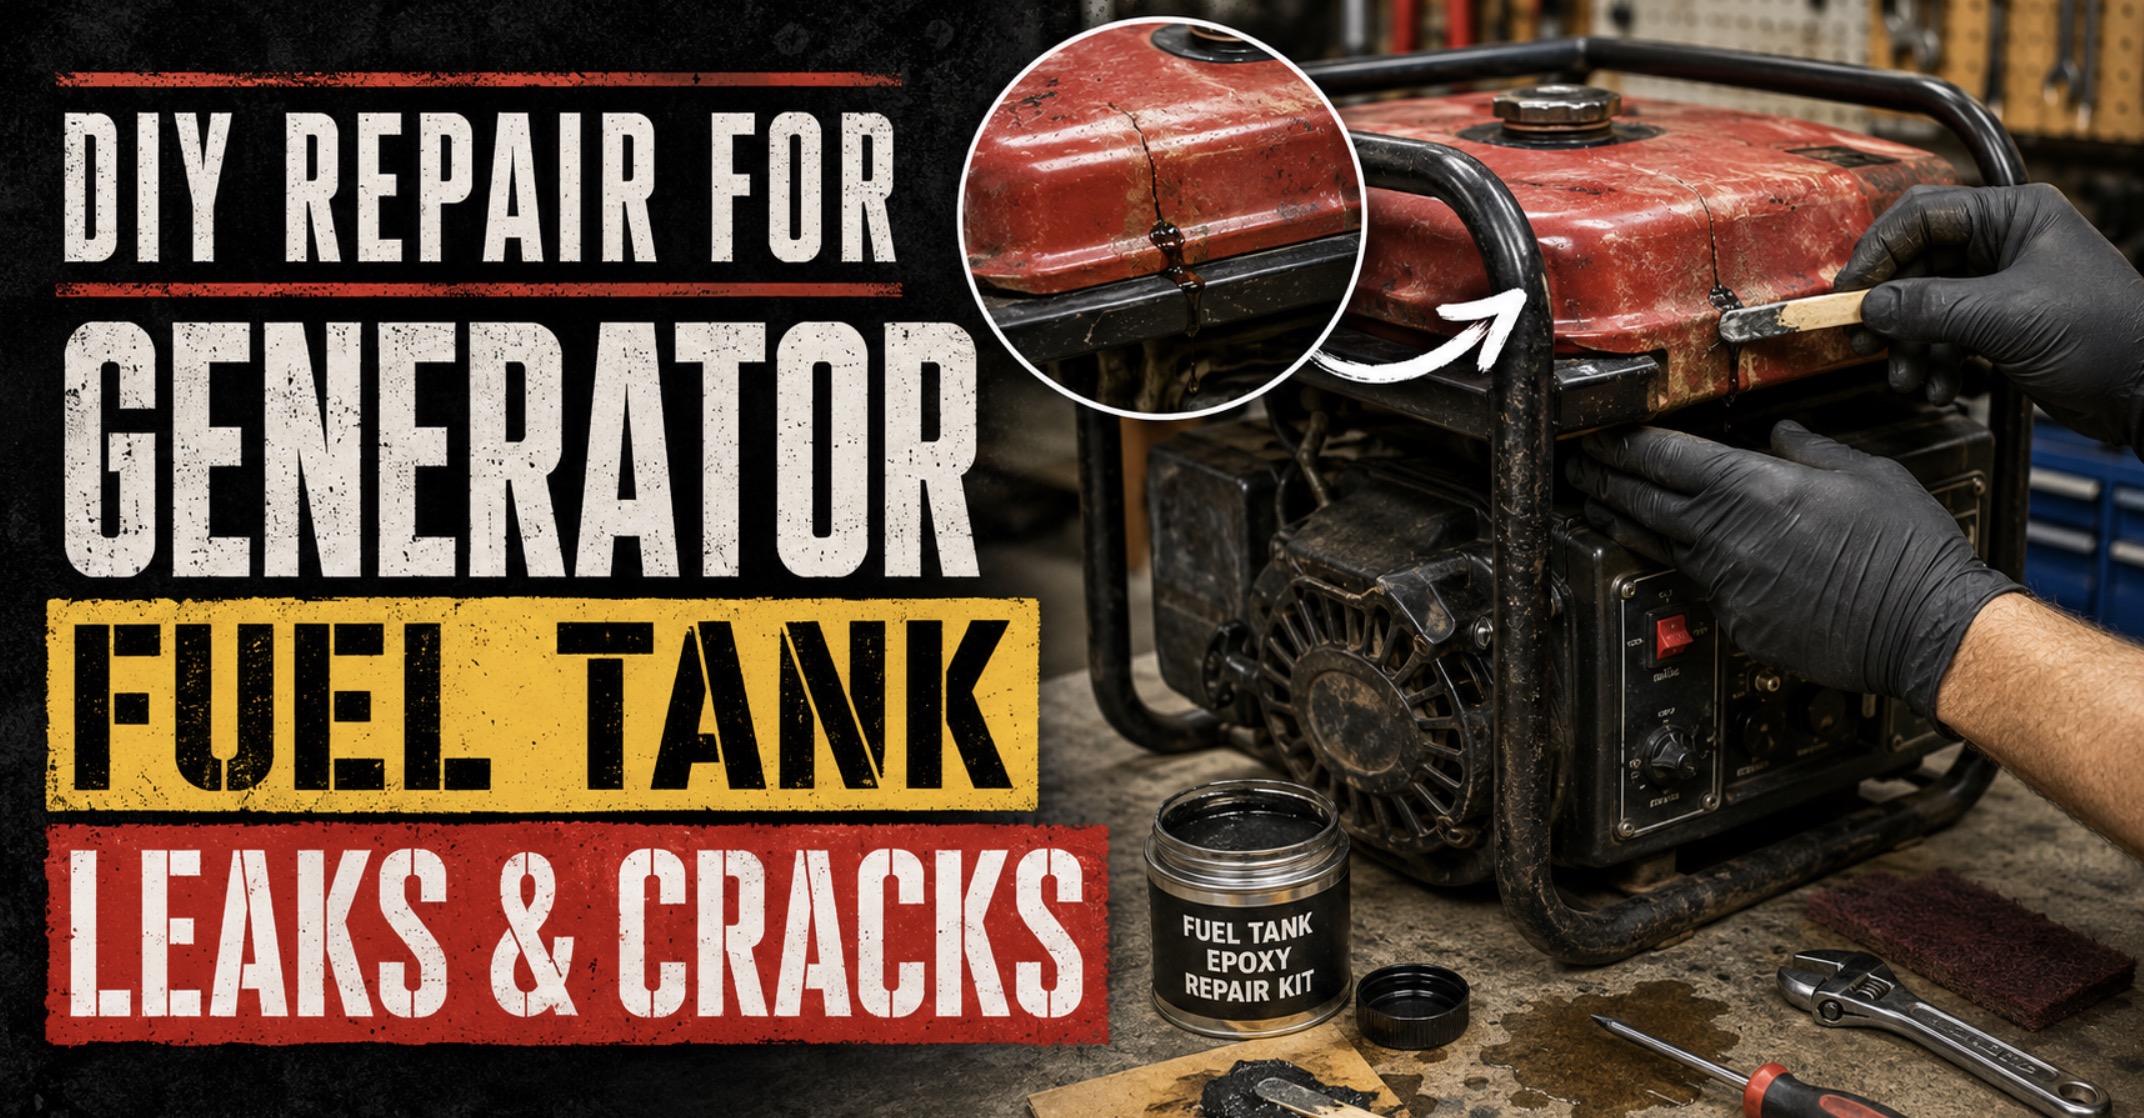
DIY Repair for Generator Fuel Tank Leaks and Cracks
* This site contains affiliate links for which we may be compensated.
A leaking generator fuel tank is never something to ignore. Even a small seep around a seam, pinhole, mounting point, or crack can turn into a serious fire risk once gasoline vapors build up or fuel reaches a hot engine surface. The good news is that some generator fuel tank leaks can be repaired at home if you identify the exact source of the problem, use the right repair method, and understand when a patch is only temporary versus when full replacement is the smarter choice.
Not every fuel tank problem is the same. A loose shutoff valve, a failed grommet, a rust pinhole, a split at a welded seam, or a crack in a plastic tank all need different solutions. If you treat every leak the same way, you can waste time on a repair that never really seals or, worse, create a more dangerous situation.
For a broader overview of generator troubleshooting and repair basics, start with Generator Parts and Repairs.
Why Generator Fuel Tanks Start Leaking
Fuel tanks usually fail for a few common reasons. Knowing which one applies to your generator helps you choose the right repair method instead of guessing.
- Rust and corrosion: Metal tanks can rust from the inside when moisture collects in stored fuel or condensation forms during long periods of storage.
- Vibration fatigue: Portable generators shake a lot, and repeated vibration can stress seams, brackets, and mounting points.
- Impact damage: Dropping the generator, tipping it, or banging the tank during transport can create dents, splits, or cracks.
- Plastic aging: On some smaller generators, plastic tanks can become brittle over time from heat, fuel exposure, and UV exposure.
- Seal failure: Sometimes the tank itself is fine and the real leak is at the fuel shutoff valve, gasket, cap seal, or grommet.
Before repairing anything, you need to confirm whether the leak is actually from the tank body or from a fitting attached to it.

J-B Weld 2110 Metal Fuel Tank Repair Kit

Hzutloer 2.87oz(85g) Instant Fuel & Water Tank Repair Adhesive Kit-Waterproof, High-Temp Resistant for Cars, Motorcycles, Trucks, Solar Heaters-Fast Bonding, No Leakage, Easy DlY Fix
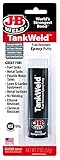
J-B Weld 8217 TankWeld Gas Tank Repair - 1 oz.,Dark Grey
Safety First Before Any Fuel Tank Repair
Fuel tank repair is not like tightening a loose bolt somewhere else on the frame. You are dealing with gasoline, gasoline vapors, and an engine that normally produces heat and sparks. That means safety comes first.
- Move the generator outdoors or to a very well-ventilated area.
- Shut the generator off and let the engine cool completely.
- Disconnect the spark plug wire so the engine cannot start accidentally.
- Drain all fuel from the tank into an approved fuel container.
- Keep cigarettes, heaters, pilot lights, grinders, and anything that can ignite vapors far away.
- Wear gloves and eye protection.
If the tank has a major crack, has been leaking heavily, or smells strongly of fuel even after draining, take your time and let vapors dissipate before attempting any repair.
How to Find the Exact Source of the Leak
Many people assume the tank metal or plastic is cracked when the actual problem is a fitting underneath. The fuel shutoff valve, tank outlet, grommet, cap, or seam can all make fuel show up in a misleading spot.
A good inspection method is:
- Wipe the entire tank and nearby fittings dry.
- Inspect the underside carefully with a flashlight.
- Look around welded seams, corners, tank mounting tabs, and the shutoff valve area.
- Check the fuel cap seal and vent area for wetness.
- Look for staining, rust tracks, or dirt buildup that marks where fuel has been escaping.
If needed, you can add a very small amount of fuel and watch closely for the first sign of seepage. Do this carefully and only after the generator is cool and safe to inspect.
Common Leak Points That Are Not Actually Tank Cracks
Before you patch the tank body, rule out these common false alarms:
- A loose or failing generator fuel shutoff valve
- A hardened outlet grommet or seal
- A cracked fuel line near the tank connection
- A bad gas cap gasket or vent issue
- A leak around mounting hardware or inserts
These problems are often easier and safer to fix than patching the tank itself. If the leak is truly from the tank wall or seam, then repair methods depend on whether the tank is metal or plastic.
DIY Repair for Small Metal Tank Pinholes and Seepage
If the tank is metal and the leak is a tiny pinhole or a very small rust spot, a fuel-resistant epoxy repair can sometimes work well, especially as a practical repair on an older portable generator.
The usual process is:
- Drain and ventilate the tank fully.
- Sand or wire-brush the damaged area until clean bare metal is exposed.
- Remove all rust, loose paint, and oily residue.
- Clean the area with a residue-free cleaner and let it dry completely.
- Apply a fuel tank epoxy repair product according to its instructions.
- Let it cure fully before adding fuel back.
The biggest mistake here is poor surface preparation. If rust, fuel film, or loose paint remains, the patch may not bond well and can fail quickly.
Repairing Cracks or Weak Seams in Metal Tanks
Larger cracks and seam leaks in metal tanks are more complicated. Epoxy may still work as a temporary or moderate-duty repair if the crack is small and the area can be cleaned properly, but larger seam failures often indicate structural fatigue or corrosion that extends beyond what is visible.
If the metal around the crack feels thin, flakes away, or has multiple rust spots, patching may only buy a little time. In those situations, replacement is usually the better long-term answer.
Some people think of brazing or welding a metal fuel tank, but that is not a casual DIY job. Residual gasoline vapor can make welding or cutting extremely dangerous unless the tank is professionally cleaned and handled correctly. For most DIY owners, chemical repair products or full replacement are the safer paths.
DIY Repair for Plastic Tank Cracks
Plastic generator tanks are a different story. A repair that works on metal may not hold on plastic, especially if the plastic is fuel-exposed polyethylene. Some glues and general-purpose epoxies simply do not bond reliably to that material.
If the tank is plastic, your best options are usually:
- A plastic-compatible fuel tank repair product made for fuel exposure
- A plastic welding approach if you know the tank material and have the right tools
- Full tank replacement if the crack is long, stressed, or near a fitting
Small cracks can sometimes be stabilized by carefully stopping the crack ends, cleaning the area, and using a repair method meant for fuel tanks. But if the crack runs through a stressed area such as a mounting point or outlet fitting, replacement is often more reliable.
When a Leak Is Really a Sign of Internal Corrosion
If you find a pinhole in a metal tank, there is a good chance there is more corrosion inside than you can see from the outside. That matters because even if you patch one spot, another weak area may start leaking later.
This is especially common on generators stored with old fuel or in damp conditions. Over time, moisture and stale fuel can do damage not just to the tank but also to the carburetor and shutoff system. If your generator has been sitting for long periods, it is also worth understanding Why Generator Carburetors Get Clogged in Storage, because fuel-system neglect rarely affects only one component.
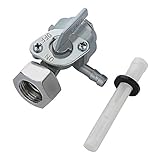
Savior Generator Petcock Gas Fuel Tank Shut Off Valve for Champion Generac | 0j0974,Switch,Predator Etq Homelite Husky Powermax,(16mm x 1.5mm)

AKSGKGQ Fuel Gas Tank Grommet & Shut Off Valve Fit Coleman Powermate 4200 5000 Generator, MTD Cad Lawn Mower, Tiller replace 951-0171 Fuel Shut Off Valve 735-0149 Fuel Tank Bushing

YGQ Generator Fuel Petcock Shut Off Valve for Champion 122.070400.05 | for Generac 310574GS Firman Gas Tank Switch M10X1.25mm
Step-by-Step Repair Strategy for DIY Owners
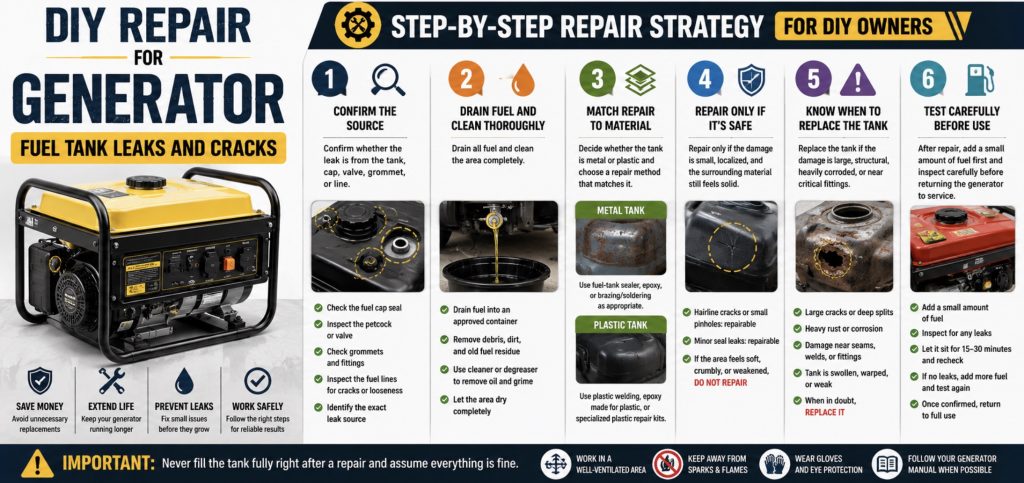
A smart repair process usually looks like this:
- Step 1: Confirm whether the leak is from the tank, cap, valve, grommet, or line.
- Step 2: Drain fuel and clean the area completely.
- Step 3: Decide whether the tank is metal or plastic and choose a repair method that matches it.
- Step 4: Repair only if the damage is small, localized, and the surrounding material still feels solid.
- Step 5: Replace the tank if the damage is large, structural, heavily corroded, or near critical fittings.
- Step 6: After repair, add a small amount of fuel first and inspect carefully before returning the generator to service.
That last step matters. Never fill the tank fully right after a repair and assume everything is fine.
How to Test the Repair Safely
After the repair has cured or the replacement part has been installed:
- Add only a small amount of fuel first.
- Watch the repaired area and all nearby fittings for seepage.
- Let the tank sit for several minutes before starting the engine.
- Check again once the generator is running, because vibration can reveal leaks that do not show up while static.
If there is any sign of fresh wetness, shut the generator down and reassess. A fuel leak that returns under vibration is not a repair you should trust.
When Replacement Is Better Than Repair
DIY repair makes sense for some small problems, but replacement is usually better when:
- The crack is long or spreading
- The tank seam is opening up
- The metal is thin from rust
- The leak is near the outlet fitting or a mounting point
- The tank has multiple weak spots
- You cannot confidently identify the tank material or repair product compatibility
At that point, continuing to patch it may create a false sense of security. A fuel tank is not a part you want to “hope” is okay during an outage or while operating near your home.
Other Fuel-System Parts Worth Checking at the Same Time
When a generator has fuel tank problems, it is smart to inspect the rest of the fuel system too:
- Fuel shutoff valve
- Fuel line and clamps
- Tank cap seal
- Carburetor bowl and inlet area
- Fuel filter if equipped
A repaired tank will not solve much if the fuel line is cracked or the valve is seeping right underneath it. If the generator has also been hard to start, runs rough, or only runs on choke, the underlying issue may extend beyond the tank. In that case, a companion guide like Generator Won’t Start After Sitting? Here’s Why can help tie the rest of the symptoms together.
How to Prevent Future Fuel Tank Leaks
You can reduce the chance of future tank damage by:
- Storing the generator in a dry location
- Not leaving old fuel sitting for long periods
- Using stabilizer when storing gasoline
- Keeping the tank reasonably full or fully drained during long storage, depending on your storage plan
- Checking mounts and vibration points regularly
- Avoiding rough transport that bangs the frame and tank around
A lot of “tank failures” begin as storage and vibration problems long before fuel actually starts dripping.
Summary
DIY repair for generator fuel tank leaks and cracks can work when the damage is small, localized, and properly identified. Tiny pinholes, minor seepage, and some small cracks may be repairable with the correct fuel-resistant products and careful preparation. But leaks at stressed seams, badly rusted metal, long plastic cracks, or areas near critical fittings often mean replacement is the safer and more reliable answer. Always confirm the true source of the leak first, work with an empty and cooled tank, and treat any fuel leak as a serious safety issue rather than a cosmetic problem.
Savior Generator Petcock Gas Fuel Tank Shut Off Valve for Champion Generac | 0j0974,Switch,Predator Etq Homelite Husky Powermax,(16mm x 1.5mm)

Generac 5W-20 Maintenance Kit for 20Kw-26Kw 999cc Generators (Replaces A0002074712)

Pull Start Assembly with Start Cup Compatible with Honda GX120 GX160 GX200 | Recoil Starter Compatible with 28400-ZE1-003ZF 28400-ZH8-013YA Pull Starter Engine 4/5.5/6.5hp Motor (2 PACK)

YGQ Generator Fuel Shut Off Valve for Predator 4000 6500 Generac 0J0974 | M16x1.5mm fuel Petcock for Honda Centurion Duromax Powermate Powerhorse ETQ Gas Tank

GNA410 Generator Wheel and Handle Kit for W-EN 4500 and 4750-Watt Generators, Compatible with W-EN DF475T, DF475, GN4500, DF472, DF475X, DF472X
About GeneratorStop.com
We are your #1 power generator guide and resource online. We are dedicated on providing you the best and most useful generator related articles, reviews and tools. learn more...